
MEP Rough-In: Why Step 15 Is Your Last Easy Yes Before Drywall Closes the Walls
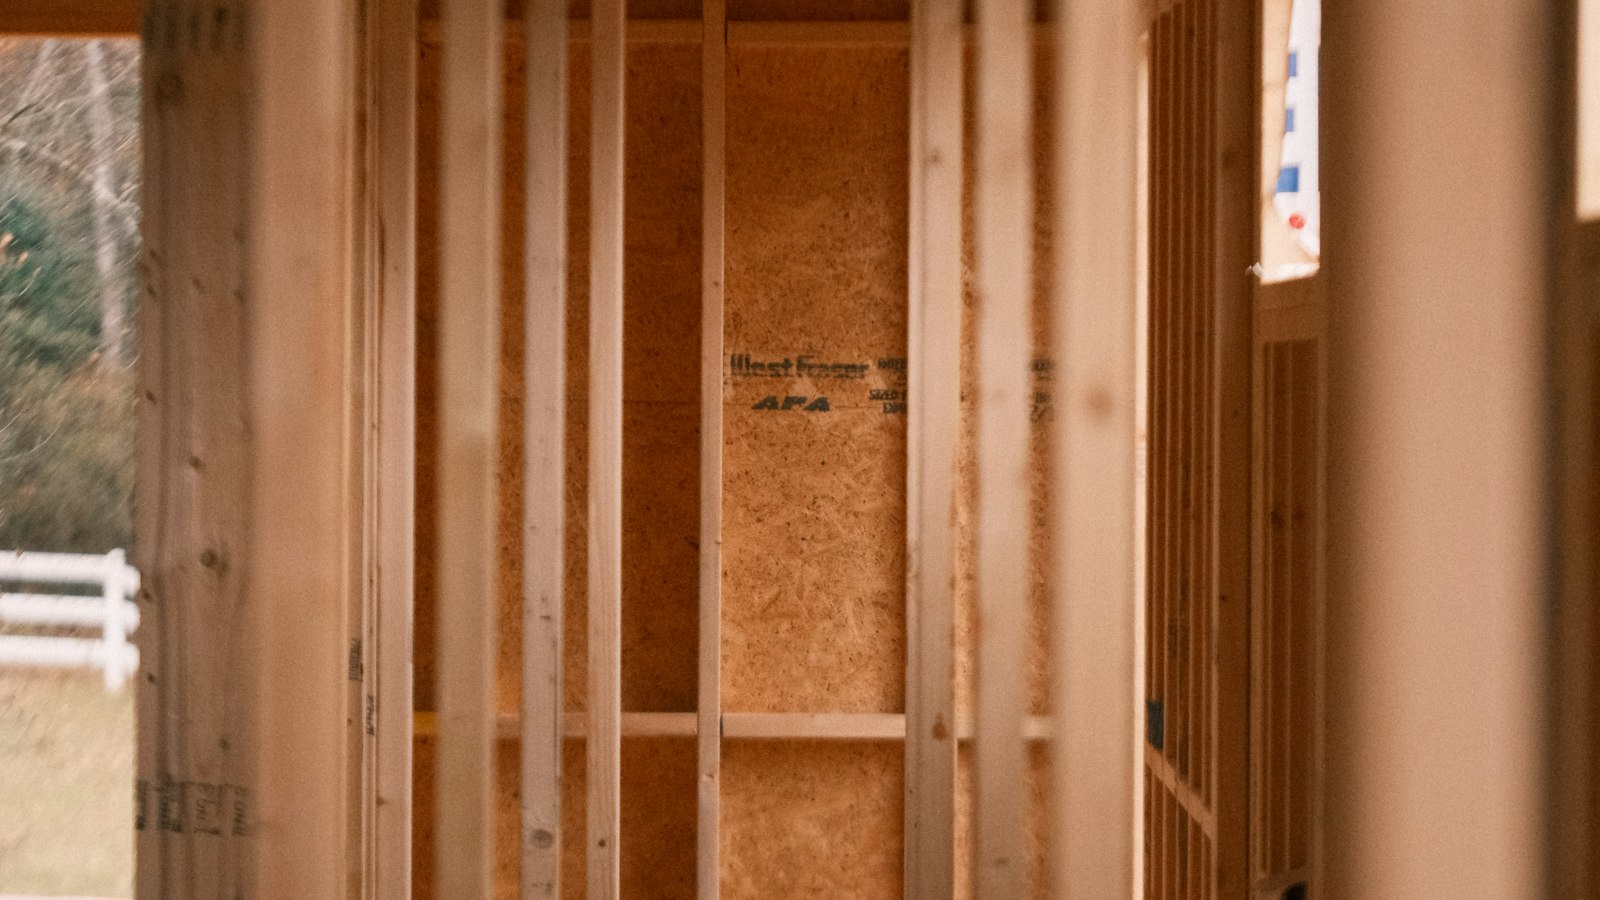
By the time you reach step 15 of the Atlas process, your home is no longer a set of drawings. It has walls. It has a roofline. You can stand in what will be your primary suite and look out toward the exact view your architect designed around. It is, for most clients, the first moment a custom home feels real.
It is also the last moment almost everything is still easy to change. MEP rough-in — mechanical, electrical, and plumbing — is where lighting, outlets, low-voltage wiring, and plumbing lines get located and run before insulation and drywall close the walls for good. Get this walkthrough right, and the rest of the build moves on schedule. Skip it, or rush it, and you are paying a framer or an electrician to open a finished wall six months from now.
What Actually Happens at Step 15
Framing (step 14) gives your home its shape. MEP rough-in is what gives it function. Electricians run wire for every switch, outlet, fixture, and low-voltage line — security, audio-visual, networking, smart-home controls — to a home run at the panel or a structured wiring closet. Plumbers set supply and drain lines for every sink, shower, tub, and appliance. HVAC contractors run ductwork and refrigerant lines sized to the house that's actually in front of them, not the one on paper.
This is also when your project manager walks the framed house with you, room by room, and confirms — out loud, in the space — exactly where every switch, sconce, pendant, outlet, and shutoff will live. Not on a plan. In the room, at the height, next to the door swing that's now actually built.
Why It's Your Last Easy Yes
Every decision before step 15 lives on paper. Every decision after step 17 lives inside a finished wall. Step 15 is the narrow window in between — the last point where moving an outlet six inches, adding a switch leg for a future fixture, or raising a shower valve to your height costs a marked-up stud and a few minutes of a tradesman's time instead of a demolition and repair invoice.
We tell every Atlas client the same thing at this walk: if you can see yourself wanting it in year three — a sconce over a reading chair that isn't on the plan yet, a dedicated circuit for a future wine fridge, a low-voltage line to a spot where a TV might eventually go — this is the moment to add it. A capped wire behind drywall costs almost nothing today. The same wire after move-in means cutting into a finished wall to find out the run was never there.
What We're Actually Confirming at the Walk
A thorough step 15 walkthrough covers four things in every room:
Lighting. Switch locations, three-way and four-way switching for rooms with multiple entries, dimmer and smart-control provisions, and exact placement for recessed cans, pendants, and sconces relative to furniture that hasn't arrived yet.
Outlets and circuits. Standard receptacle spacing, dedicated circuits for major appliances, exterior and outdoor-kitchen power, and garage or shop circuits sized for what you'll actually plug in, not just code minimums.
Low-voltage. Security, cameras, networking, audio-visual, and smart-home wiring — the systems most likely to be an afterthought on a production home and the ones that are cheapest to run now and nearly impossible to add later without surface-mounted conduit.
Plumbing. Fixture heights, valve locations, and any point where a future feature — a bar sink, an outdoor shower, a pool bath — needs a stubbed line now even if the fixture itself is a phase-two decision.
How Atlas Sequences This So Nothing Gets Missed
This is exactly the kind of step where a concierge, single-point-of-contact process earns its keep. You are not coordinating separately with an electrician, a plumber, and an HVAC contractor, trying to remember what you told each of them. Your Atlas project manager runs the walk with you once, with every trade's scope on one page, and confirms the decisions in writing before insulation goes in behind them.
That sequencing is deliberate. Step 15 sits between framing and insulation for a reason — every rough-in decision has to be locked before the walls close, and nothing in the schedule after it should require reopening them. It's the same philosophy behind the full 21-step process: decisions happen in the order that protects your budget and your timeline, not in the order that's convenient for whichever trade shows up next.
Why This Step Protects the Twelve-Month Timeline
Central Texas custom builds that stay on their twelve-month-or-less timeline rarely have dramatic causes for delay. More often, it's a string of small ones — a change order here, a reopened wall there, a fixture decision made three weeks after the trade that needed it has moved on. A disciplined MEP rough-in walk is one of the highest-leverage hours in the entire build. It's the point where "we might want that someday" becomes a capped wire instead of a change order, and where your home's systems get built once, correctly, instead of twice.
If you're planning a custom home in Bee Cave, Westlake, Lakeway, Dripping Springs, Spicewood, or the Horseshoe Bay and Marble Falls lake corridor, and you want a build process where every rough-in decision is walked, confirmed, and documented before the walls close — schedule a consultation with Atlas Custom Homes. We'll show you exactly how the full 21-step process protects your schedule and your budget from the first sketch to the final walkthrough.